Upgrade Your Roofing System with Self-Adhesive Tarps: A Step-by-Step Guide
Upgrade Your Roofing System with Self-Adhesive Tarps: A Step-by-Step Guide
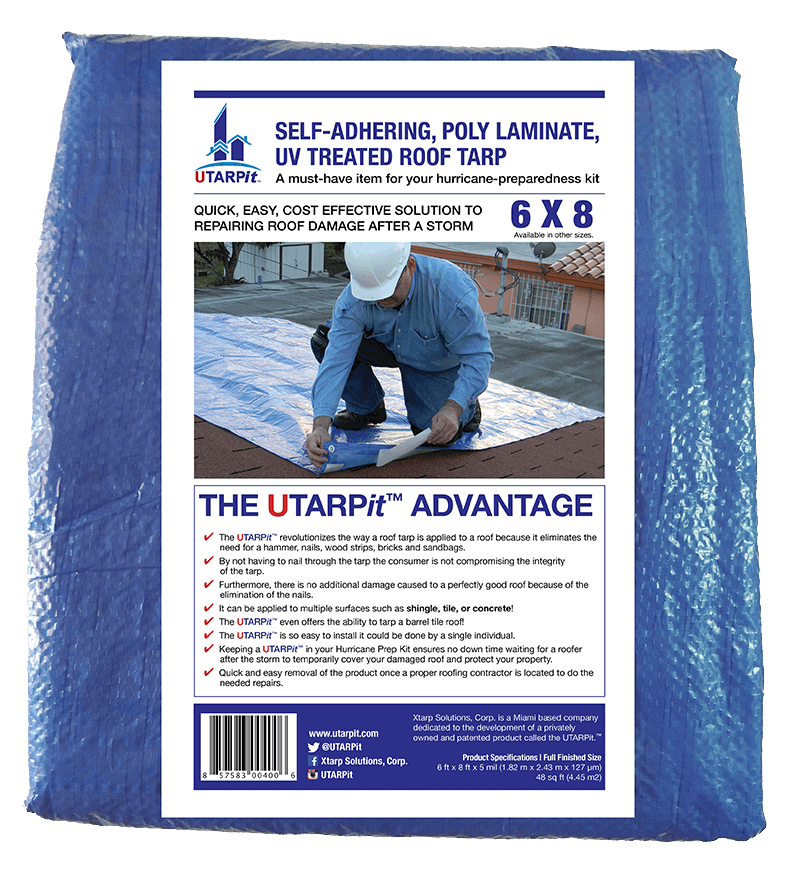
In the ever-demanding quest for durable and efficient roofing solutions, self-adhesive tarps have emerged as a revolutionary product. These tarps offer a straightforward installation process and robust protection against leaks and weather damage. This guide will walk through the steps to upgrade a roofing system with self-adhesive tarps, emphasizing the benefits and practical application of this innovative solution.
Why Choose Self-Adhesive Tarps?
Before diving into the installation process, understanding the advantages of self-adhesive tarps can help in making an informed decision. Here are some key benefits:
- Easy Installation: Self-adhesive tarps simplify the installation process, eliminating the need for additional adhesives or tools.
- Durability: They are designed to withstand harsh weather conditions, providing long-lasting protection.
- Cost-Effective: By minimizing labor costs and extending roof life, these tarps offer a budget-friendly solution.
- Versatile Application: Suitable for various roof types, from residential homes to commercial structures.
Preparing for Installation
Gather Necessary Materials
Proper preparation is crucial for a successful installation. Ensure that the following materials and tools are on hand:
- Self-adhesive roofing tarp: Choose a self adhesive roofing tarp that fits the specific needs and dimensions of the roof.
- Cleaning Tools: Brushes and brooms to clean the roof surface.
- Safety Gear: Gloves, goggles, and non-slip shoes to ensure safety during installation.
- Measuring Tape and Utility Knife: For accurate measurement and cutting of the tarp.
Step-by-Step Installation Process
Step 1: Roof Inspection and Cleaning
Begin by thoroughly inspecting the roof for any existing damage or debris.
- Remove any debris such as leaves, branches, or dirt to ensure a clean surface.
- Check for leaks or damages that need repair before applying the tarp.
Step 2: Measure and Cut the Tarp
Accurate measurements are essential to ensure proper coverage and fit:
- Measure the dimensions of the roof, allowing some extra material for overlapping and securing edges.
- Using a utility knife, cut the tarp to the required size.
Step 3: Application of Self-Adhesive Tarp
Follow these steps to apply the tarp efficiently:
- Start from the bottom edge of the roof, gradually working upwards to prevent water from seeping under the tarp.
- Peel back a small section of the adhesive backing and press the tarp onto the roof surface.
- Continue to peel and press, smoothing out any bubbles or wrinkles as you go.
- Ensure the edges are securely adhered by firmly pressing down on them.
Step 4: Final Inspection and Adjustments
After installation, conduct a final inspection:
- Check all edges and seams to ensure they are properly sealed and secure.
- Make any necessary adjustments to ensure complete coverage and adhesion.
Maintenance and Longevity
Proper maintenance can significantly extend the lifespan of the roofing tarp:
- Regularly inspect the roof for any signs of wear or damage, particularly after severe weather.
- Clean the roof periodically to remove debris that could damage the tarp.
For those seeking a reliable and efficient roofing solution, self-adhesive tarps offer an excellent option. With the right preparation and careful installation, these tarps can provide durable protection for any roofing system. More information on selecting the right tarp can be found here: self adhesive roofing tarp.
