A Guide to Installing a Reverse Osmosis Filter System
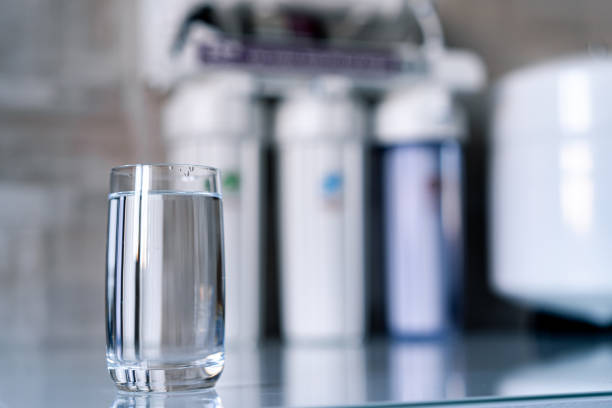
In today’s world, access to clean and safe drinking water is crucial for maintaining good health. Reverse osmosis (RO) filter systems have become an increasingly popular choice for homeowners seeking to improve their water quality. These systems are known for their ability to remove contaminants from water, providing a reliable source of purified water for household consumption. This guide aims to elucidate the process of installing a reverse osmosis filter system, ensuring that users can enjoy the benefits of clean water with ease and confidence.
Understanding Reverse Osmosis Systems
Before embarking on the installation process, it is essential to understand the basic components and functionality of a reverse osmosis system. RO systems typically consist of the following elements:
- Pre-filters: Remove larger particles such as sediment and chlorine, protecting the RO membrane.
- RO Membrane: The heart of the system, this semi-permeable membrane filters out contaminants at a molecular level.
- Post-filters: Final filtration stage that polishes the water for taste and quality.
- Storage Tank: Holds the purified water until it is needed.
- Faucet: Dispenses the filtered water for consumption.
For further insights into how these components work in concert, discover expert strategies here.
Preparation for Installation
Gathering Tools and Materials
Before beginning the installation, gather all necessary tools and materials to ensure a smooth process:
- Adjustable wrench
- Drill with appropriate drill bits
- Phillips and flathead screwdrivers
- Teflon tape
- Tube cutter
Having these tools on hand will facilitate a more efficient installation process. Explore advanced guides and tips for more detailed preparation advice.
Installation Steps
1. Install the Faucet
The first step is to install the faucet that will dispense the filtered water. Drill a hole in the sink or countertop if necessary, ensuring it is positioned conveniently for use. Secure the faucet in place, using Teflon tape on any threaded connections to prevent leaks.
2. Mount the RO System
Next, choose a suitable location for the RO system under the sink. Ensure there is enough space for both the filter system and the storage tank. Mount the system securely, following the manufacturer’s guidelines to ensure proper alignment and access for maintenance.
3. Connect the Water Supply
Shut off the cold water supply line and attach a saddle valve or a dedicated feed valve to the line. Connect the RO system to this valve using the provided tubing, ensuring a tight fit to prevent leaks. Find out more about this approach to connecting water supply lines.
4. Connect the Drain Line
The next step involves connecting the system to the drain. Drill a hole in the sink’s drain pipe and attach the drain saddle. Connect the RO drain line to this saddle, ensuring the tubing slants downward to facilitate proper drainage.
5. Install the Storage Tank
Position the storage tank in the designated area, ensuring it is upright. Connect the tank to the RO system using the provided tubing, and ensure all connections are secure to prevent leaks.
6. Final Checks and Testing
After completing the installation, turn on the water supply and check for leaks at all connection points. Allow the system to fill the storage tank, then flush the tank completely to ensure any initial impurities are removed. Repeat this flushing process as recommended by the manufacturer.
For more detailed installation instructions and troubleshooting tips, learn about our tailored solutions.
Maintenance and Troubleshooting
Regular maintenance is crucial to ensure the longevity and efficiency of a reverse osmosis system. Some key maintenance tasks include:
- Replacing pre-filters and post-filters every six months.
- Inspecting and replacing the RO membrane as needed, typically every two to three years.
- Sanitizing the system annually to prevent bacterial growth.
Proper maintenance not only extends the life of the system but also ensures consistent water quality. For a comprehensive guide to maintaining an RO system, explore advanced guides and tips.
By following this guide, homeowners can confidently install and maintain a reverse osmosis filter system, ensuring access to clean and purified water in their homes.
