Installing a dryer vent is an essential task to ensure proper ventilation and safety in your home. A well-installed dryer vent will help prevent fires, improve the efficiency of your dryer, and prolong its lifespan. If you're a beginner looking to tackle this project on your own, follow this step-by-step guide to ensure a successful installation.
Materials Needed
Before you begin the installation process, gather all the necessary materials to complete the job:
- Dryer vent kit (includes vent hood, duct, clamps, and screws)
- Caulk or foil duct tape
- Tape measure
- Screwdriver
- Drill
- Hacksaw or tin snips
- Pencil
- Work gloves
- Safety goggles
Step 1: Plan the Installation
Start by determining the best location for the dryer vent. Ideally, the vent should be as straight and short as possible to maximize airflow. Consider the following:
- Choose a location close to the dryer with access to an outside wall.
- Avoid long runs or sharp turns in the vent duct to prevent lint buildup.
- Check local building codes for any specific requirements regarding dryer vent installations.
Step 2: Prepare the Area
Before you begin installation, make sure to prepare the area where the vent will be mounted:
- Clear any obstructions or debris from the area around the dryer.
- Locate and mark the center of the dryer vent opening on the wall.
- Use a stud finder to locate and mark the position of the wall studs for secure mounting.
Step 3: Install the Vent Hood
Follow these steps to install the vent hood on the exterior wall:
- Position the vent hood over the marked opening on the wall.
- Use a pencil to trace the outline of the vent hood on the wall.
- Use a drill to create a starter hole within the traced outline.
- Cut out the opening for the vent hood using a jigsaw or reciprocating saw.
- Secure the vent hood to the wall with screws provided in the vent kit.
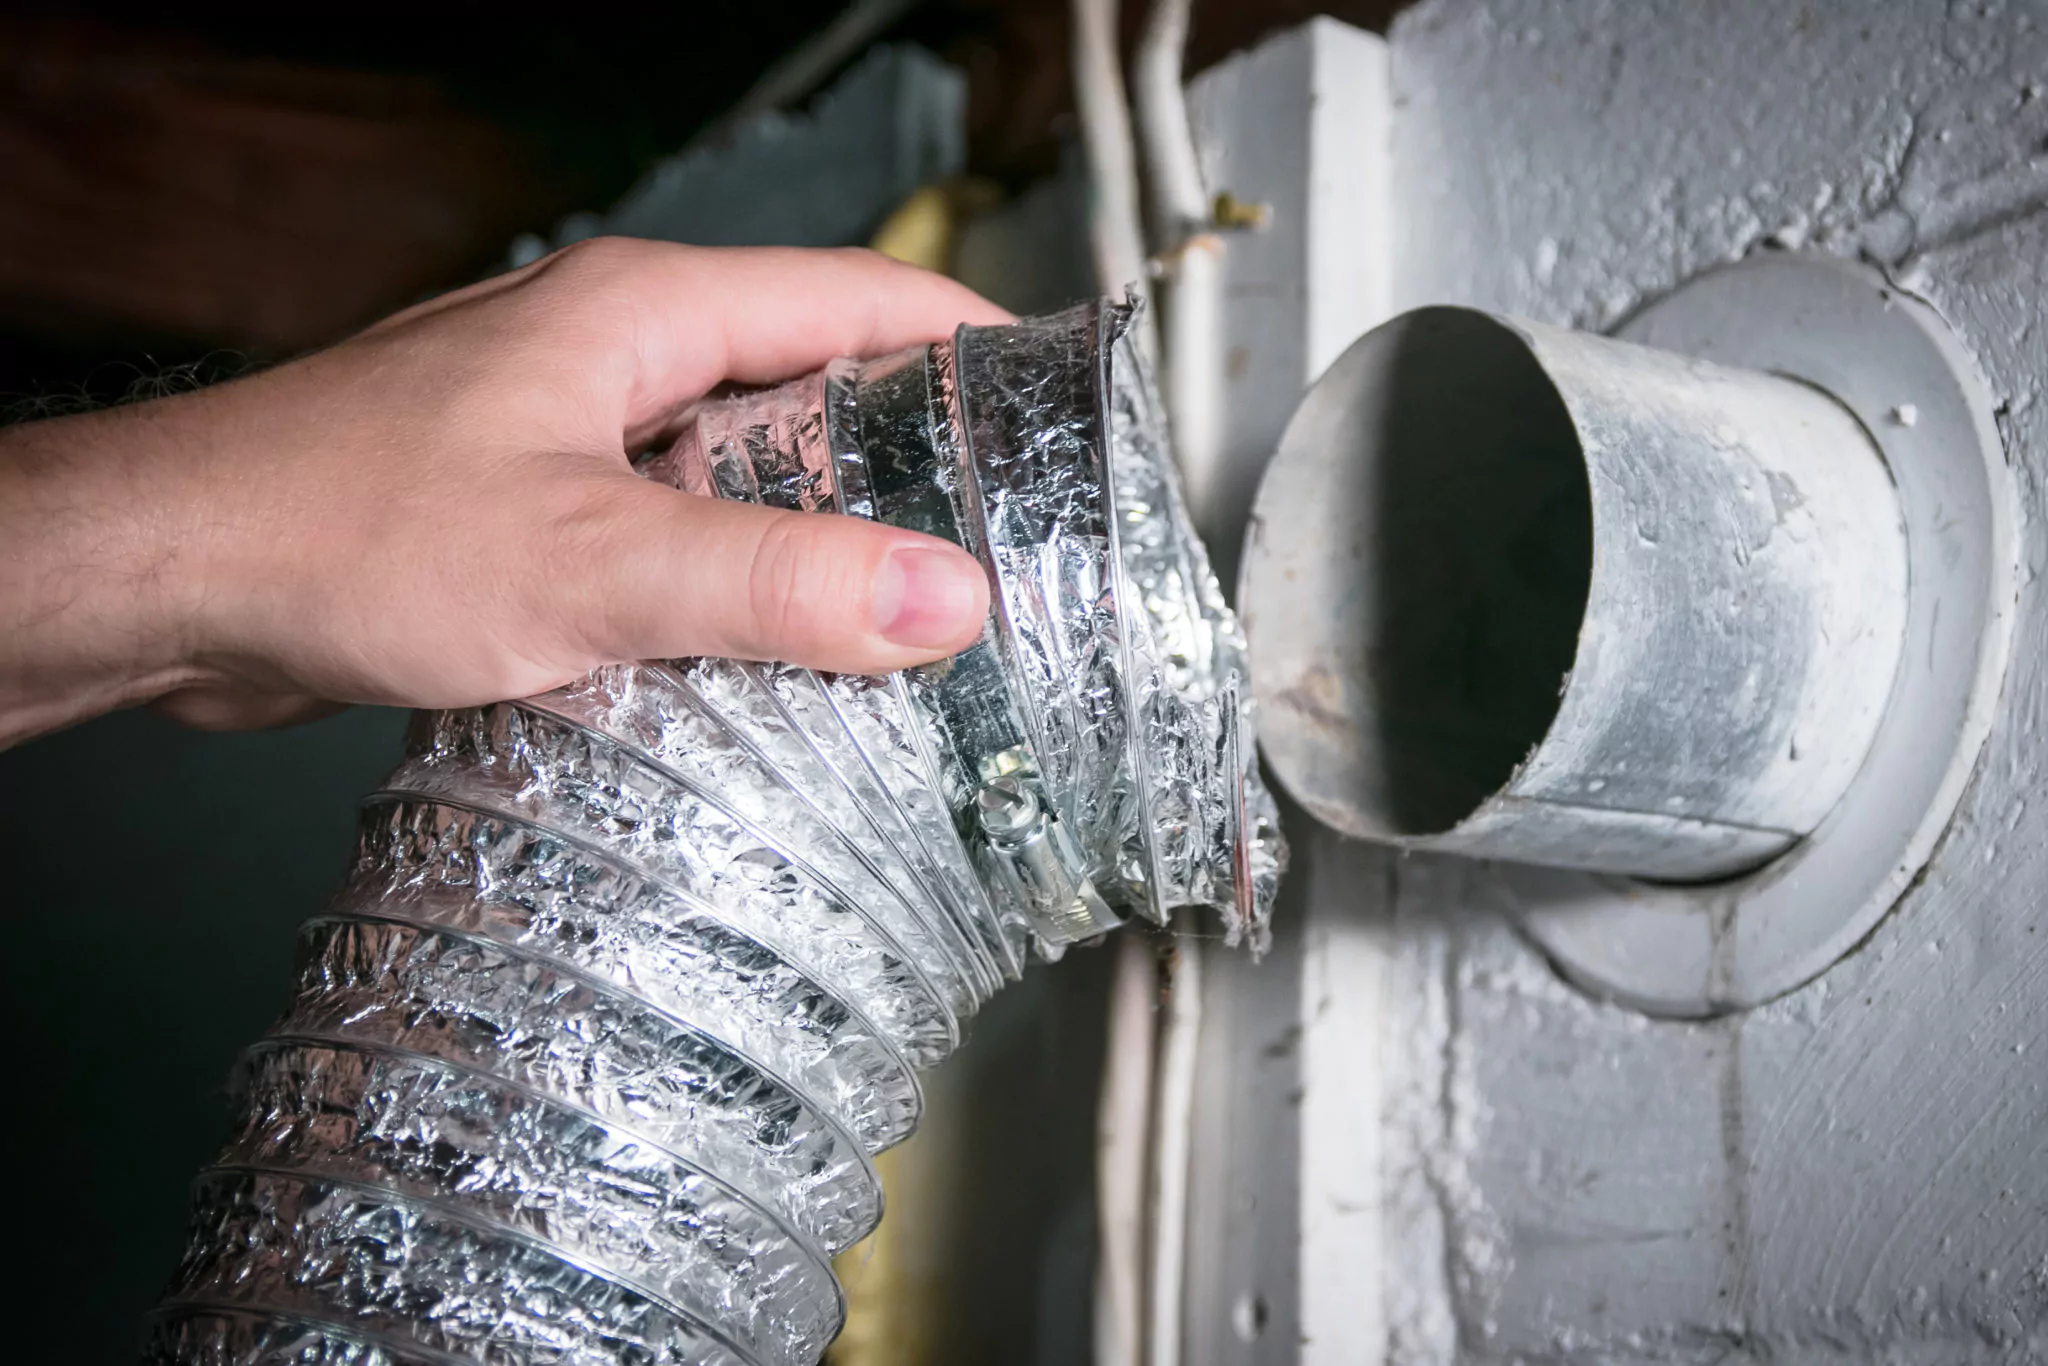
Step 4: Connect the Ductwork
Next, you will need to connect the ductwork from the dryer to the vent hood. Follow these steps:
- Cut the duct to the appropriate length using a hacksaw or tin snips.
- Attach the duct to the back of the dryer using clamps provided in the vent kit.
- Slide the other end of the duct into the vent hood opening on the wall.
- Secure the duct to the vent hood with clamps or screws.
Step 5: Seal the Joints
Properly sealing the joints in the ductwork is crucial to prevent air leaks and improve airflow. Use foil duct tape or caulk to seal the connections securely.
Step 6: Test the Ventilation
After completing the installation, it's important to test the ventilation system to ensure everything is working correctly. Follow these steps to test the dryer vent:
- Turn on the dryer and check for proper airflow at the vent hood outside.
- Ensure there are no obstructions or restrictions in the ductwork that could hinder airflow.
- Check for any signs of leaks or loose connections and address them promptly.
Final Tips and Safety Precautions
Here are some additional tips and safety precautions to keep in mind during the dryer vent installation process:
- Always wear work gloves and safety goggles when working with tools or sharp materials.
- Follow the manufacturer's instructions provided with the dryer vent kit for proper installation.
- Regularly clean and maintain the dryer vent to prevent lint buildup and maintain efficiency.
- Consider hiring a professional if you encounter any difficulties or are unsure about the installation process.
Conclusion
By following this step-by-step guide, even beginners can successfully install a dryer vent in their homes. Proper installation of a dryer vent is essential for maintaining a safe and efficient laundry room. With the right materials, tools, and guidance, you can complete this project with confidence and enjoy the benefits of a well-ventilated dryer. Remember to prioritize safety and follow all instructions carefully to ensure a successful installation.
Leave a Reply
You must be logged in to post a comment.